A concrete shed base is the right foundation choice for most garden buildings — it provides a level, damp-proof, structurally stable platform that outlasts timber or paving stone alternatives by decades. Unlike timber bearers that rot or individual paving slabs that shift and settle, a properly laid concrete slab maintains its level and provides a secure anchor point for the building above. This step-by-step guide covers everything needed for a durable result.
What Tools and Materials Do You Need to Lay a Concrete Shed Base?
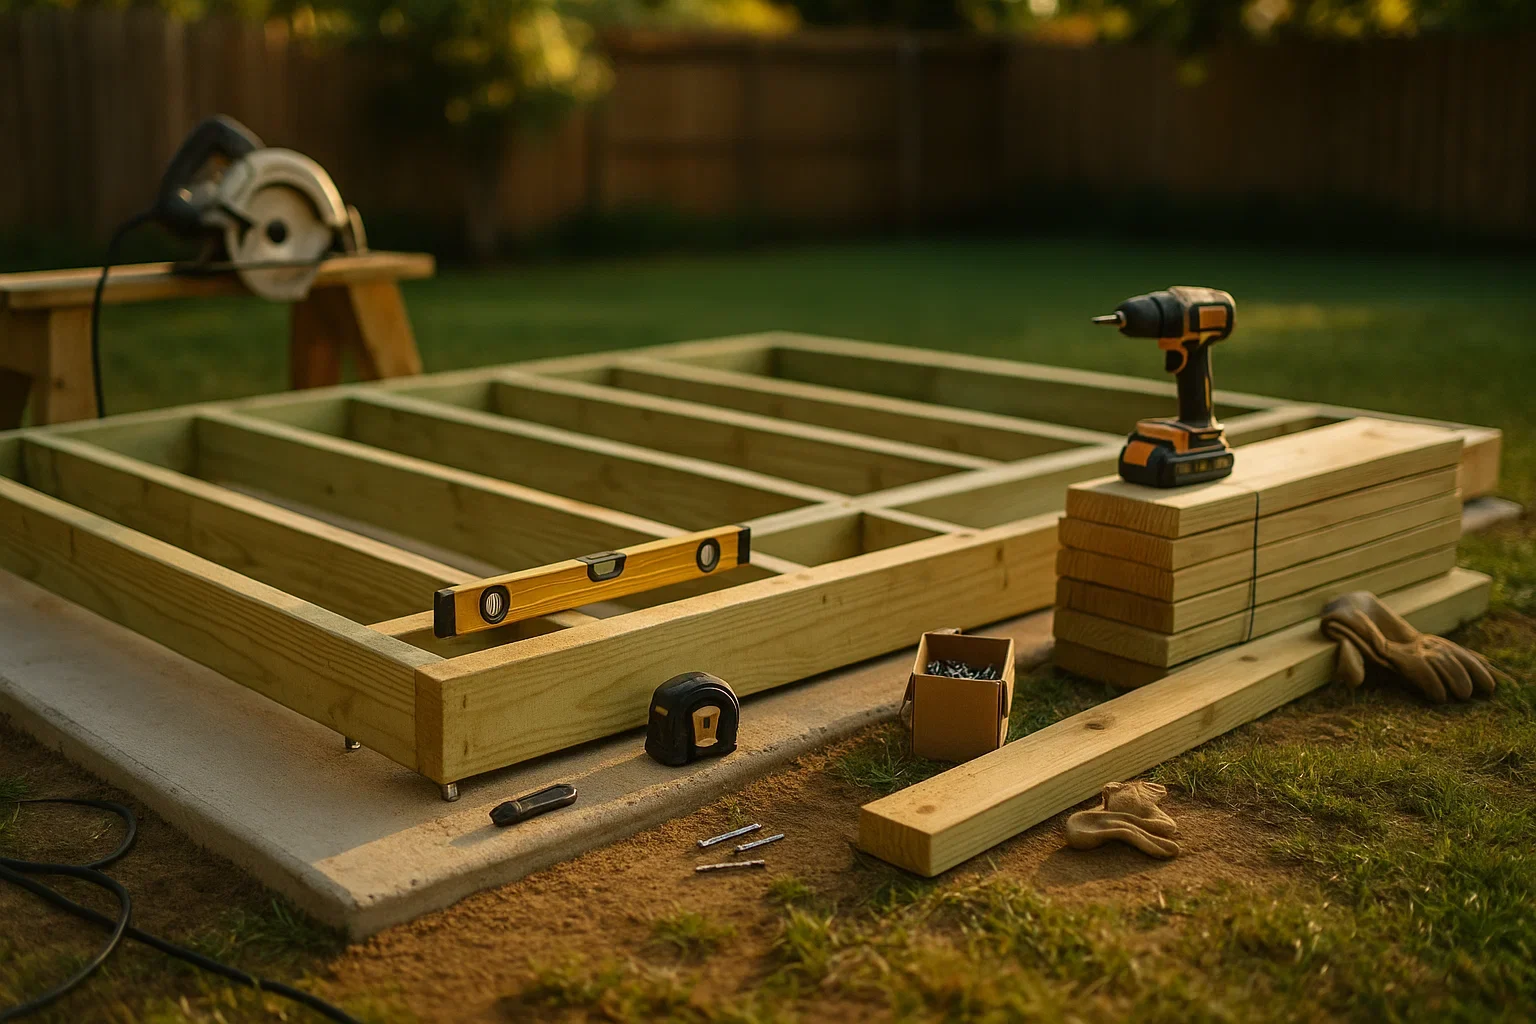
Tools required: Shovel, wheelbarrow, spirit level, tape measure, wooden stakes and string line, steel trowel, timber screed board, drill and screws.
Materials required: Concrete (see specification below), crushed stone or MOT Type 1 for sub-base, timber formwork boards (75mm × 38mm), reinforcement mesh (optional for larger bases), plastic sheeting for curing.
For concrete supply, Procon 24/7’s ready-mix concrete service provides correctly specified mixes for residential slab applications across Yorkshire and the North West. For smaller or uncertain quantities where you want to avoid over-ordering, volumetric concrete allows you to mix exactly what you need on-site.
How Do You Prepare the Site for a Concrete Shed Base?
Location and levelling: Choose a site with good drainage. Avoid areas prone to waterlogging or adjacent to large tree roots. Measure the shed’s footprint and add 50mm on each side for clearance — a slightly larger base prevents the shed walls from sitting directly at the slab edge.
Marking out: Place wooden stakes at each corner and connect with string lines. Verify square by measuring both diagonals — they should be equal. An out-of-square base creates fit problems when the shed is installed.
Excavation: Excavate to approximately 150mm depth to accommodate a 75mm sub-base and a 75mm concrete slab. Remove all topsoil, roots, and soft material. The base of the excavation should be firm and consistent — soft spots must be dug out and filled with compacted hardcore.
Sub-base: Fill the excavation with 75mm of compacted crushed stone or MOT Type 1. Compact thoroughly — either with a hired plate compactor for larger bases or by firm manual tamping for small sheds. A properly compacted sub-base prevents the slab from cracking due to ground movement beneath it.
How Do You Build the Formwork and Pour the Concrete?
Formwork assembly: Cut timber boards to the dimensions of the slab and assemble the frame with screws at the corners. Position inside the excavation and stake externally to prevent movement during the pour. Check all sides with a spirit level — the formwork determines the final slab level. Build in a slight fall away from the shed (approximately 1:60) for drainage if the site is level.
Concrete specification: For a garden shed base, C20 concrete is appropriate — it provides adequate strength for the load and is cost-effective. For larger or heavier structures (workshops with heavy equipment, storage for vehicles), upgrade to C25. For guidance on selecting the right grade, see our guide on choosing the right concrete. Estimate your volumes with our concrete calculator before ordering.
Reinforcement (optional): For sheds up to approximately 10m², reinforcement mesh is optional. For larger structures, or if the base will carry heavy loads, A142 mesh laid over the sub-base and supported on plastic chairs significantly improves crack resistance and slab strength.
Pouring: Start at one end of the formwork and work systematically, distributing concrete evenly. Use a shovel to move concrete into corners and against the formwork edges. Strike off level using a screed board drawn across the formwork in a sawing motion — the formwork boards act as level guides.
How Do You Finish and Cure a Concrete Shed Base?
Finishing: After screeding, float the surface to close any voids and achieve a reasonably smooth finish. For a shed base, a light broom texture provides adequate grip without being overly rough. Do not over-trowel — bringing excess water to the surface creates a weak laitance layer prone to dusting and surface wear. If the shed will include a workshop or utility space needing a flatter, more level floor, consider our floor screed service as a finishing layer over the structural slab.
Curing: Cover immediately with plastic sheeting, weighted at the edges to prevent lifting. Maintain moisture for a minimum of 3 days — ideally 7 days for full strength development. Keep covered and avoid walking on the slab during this period. For how temperature affects curing time, see our guide on how long concrete takes to dry.
Removing formwork: Remove timber formwork after 2–3 days. The slab edges will be slightly rough — this is normal. Allow a minimum of 7 days before erecting the shed and loading the slab.
Installing the shed: Anchor the shed to the concrete base using appropriate fixings — particularly important in exposed or windy locations. If installing a timber frame shed, ensure any timber in direct contact with concrete is pressure-treated to resist moisture and rot.
Frequently Asked Questions About Concrete Shed Bases
How thick should a concrete shed base be?
75mm (3 inches) is standard for most garden sheds. For larger garden buildings, workshops with heavy equipment, or sites with poor ground conditions, 100mm is recommended. Always include a compacted sub-base beneath the concrete slab.
Do I need reinforcement mesh for a shed base?
For small standard garden sheds (up to approximately 10m²), mesh is optional. For larger structures, heavy loads, or slabs spanning soft ground, A142 mesh significantly improves crack resistance and longevity.
How long does a concrete shed base take to cure?
Light foot traffic is acceptable after 48 hours. The shed should not be erected for at least 7 days. Full 28-day strength is achieved after approximately four weeks under normal UK conditions — this is when the base can safely bear heavy loads.
Can I lay a concrete shed base myself?
Yes, with the right preparation and tools. The critical steps are correct sub-base compaction, accurate formwork, and proper curing. The most common DIY failure is insufficient sub-base preparation — resulting in cracking caused by ground movement beneath a well-poured slab.